WebFOCUS
Online Help > Creating Compound Reports With Power Painter > Using Standard Reporting Functions > Incorporating Standard Reporting Functions Into a Report
Incorporating Standard Reporting Functions Into a Report
The following standard reporting
functions are available within the Data Sources palette of the Power
Painter tool:
- Create
a virtual field (DEFINE) for your report.
- Create a
report level calculation (COMPUTE) for your report.
- Add a JOIN
relationship by using the Joins tab in the Data Sources palette.
- Create conditional
styling rules by using the Create Conditional Style Rule dialog box.
- Create filters
(WHERE/WHERE TOTAL statements) using the Selection Criteria palette.
- Use the Auto
Prompting Facility to select parameters for your report.
Procedure: How to Create a DEFINE Statement
-
Click the Define
 button
from the Data Sources palette.
button
from the Data Sources palette.
The Field
creator dialog box opens.
-
Type the name of the virtual field
in the Field input box.
-
Enter an expression in the expressions
box.
-
Click OK to
close the Define field creator dialog box.
The DEFINE field is added to the report field list.
-
Drag and drop the DEFINE field into the report.
Procedure: How to Create a COMPUTE Statement
-
Click the Compute
 button from the Query palette.
The Field creator dialog box opens.
-
Type the name of the COMPUTE field in the Field input box.
-
Enter an expression in the expressions box.
-
Click OK to close the Compute field
creator dialog box and apply the COMPUTE statement.
The COMPUTE field is added to the report.
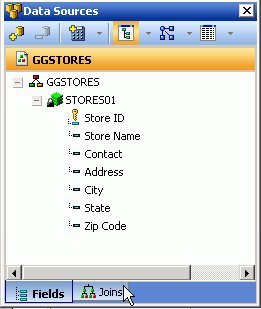
Procedure: How to Create a JOIN Between Data Sources
-
Click the Joins tab in the Data Sources
palette.
-
Click the Add Join button from the Data Sources
palette toolbar.
-
Select
a target Master File and click OK.
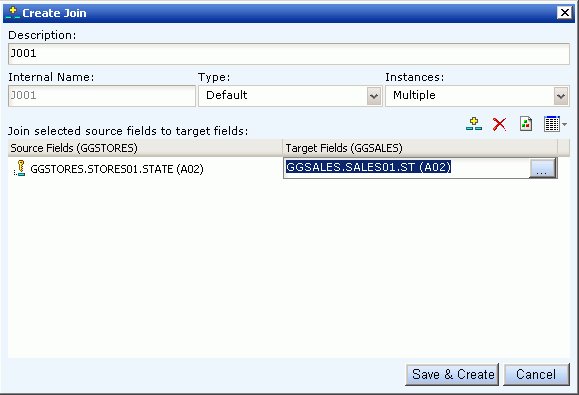
The Create Join dialog box opens.
Note: Joins
can also be created on defined fields. For more information about
defined fields, see How to Create a DEFINE Statement.
-
Type a name for the Join in the Description field.
-
Select the Type and Instances for the Join or use the default selections.
-
Click the Select a source field browse
(...) button to select the Join source field.
-
Click the Select a target field browse
(...) button to select the target fields.
Note: If no target fields are available, you are
notified that there are no fields found.
-
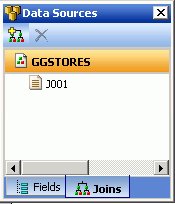
Click Save & Create to save the
Join relationship.
The joined field is added to the Joins tab.
-
Click the Fields tab in the Data Source
palette to view the joined data.
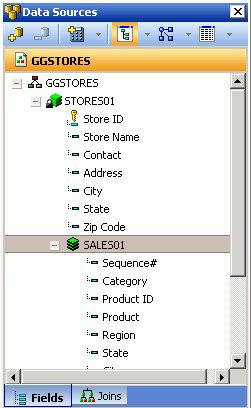
-
Drag and drop joined fields onto the canvas as you would any
other field.
Note: To
edit a join, double-click the join.
Procedure: How to Create Conditional Styling Rules
-
Open the Query pop-up dialog box or Query palette in the canvas.
- To open the Query pop-up dialog box,
click the Query button above the selected
object (or right-click the object and select Query from
the context menu).
- To open the Query palette, from the
View menu, select Palettes, then select Query from the
Palettes submenu.
-
Select the field name in the Query pop-up dialog box or Query palette.
When fields are selected, properties for each field are
available in the Field properties palette.
-
Click the Field properties palette and scroll down until you
see Conditional styling.
-
Click in the Conditional styling value field and select the New
styling rule button.
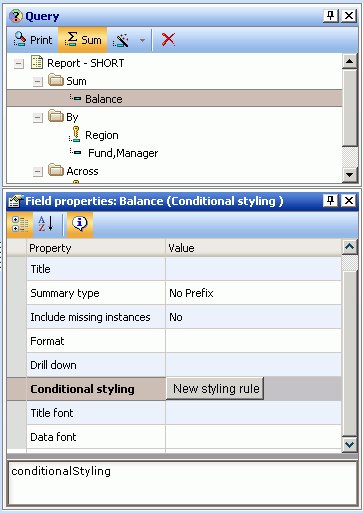
The Create Conditional
Style Rule dialog box opens, as shown in the following image.
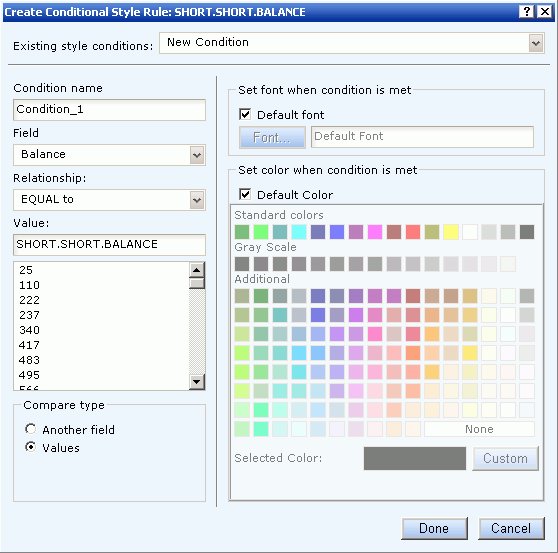
-
Create the style conditions for the
field.
-
Type a name for the condition or accept
the default.
-
Select a relationship for the condition
from the Relationship drop-down list.
-
Specify a value by doing one of the following:
- Type a literal
value in the Value input field.
or
- Click Values from
the Compare type section to display existing data source values.
-
Click Done to save and apply the conditional
style rule.
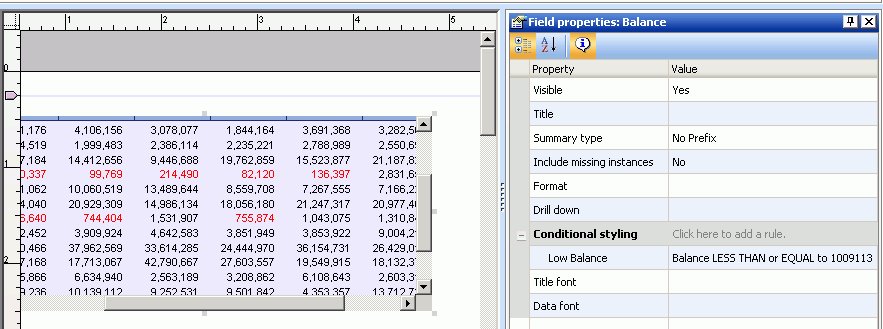
The condition is added to the Field properties palette
and the condition is applied to the data on the Power Painter canvas.
The
following image is an example of the Field properties palette with
a Low Balance condition rule. The report object shows red text where
the conditional styling rule was applied.
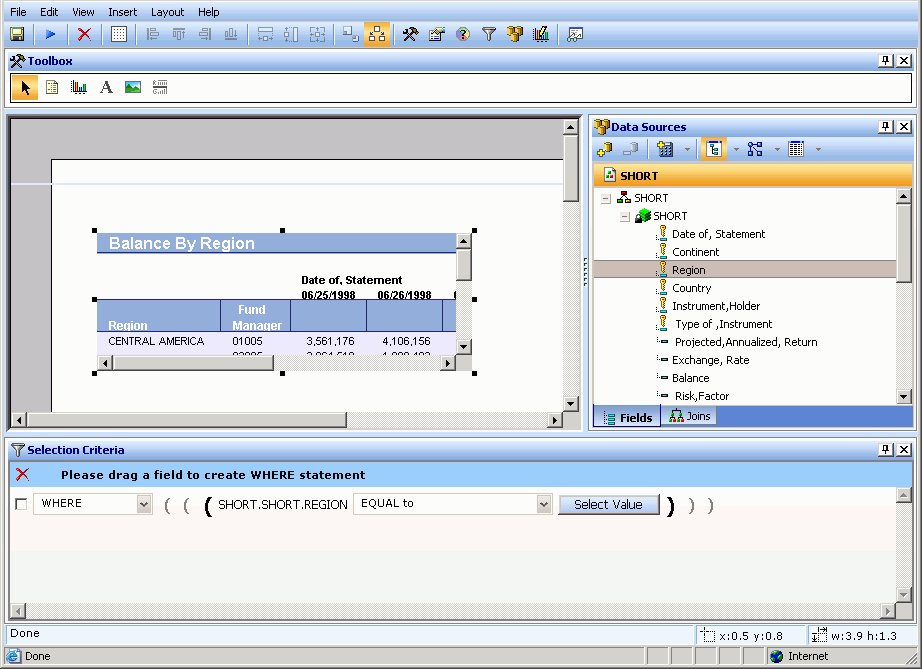
Procedure: How to Create a WHERE Statement
-
Select a report or graph object in
the Power Painter canvas.
-
From the View menu, select Selection
Criteria from the Palettes submenu.
The Selection Criteria palette
appears on the bottom of the canvas.
-
Drag
a field name from the Data Sources palette to the Selection Criteria
palette.
The WHERE statement is added to the Selection Criteria
palette.
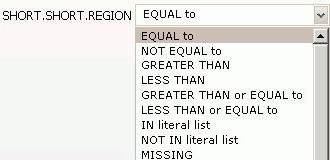
-
Specify the condition by using the
drop-down list.
-
Click Select Value to open the Select
Value dialog box.
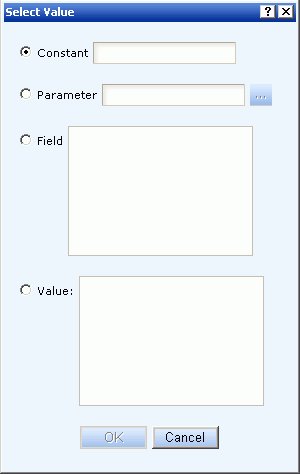
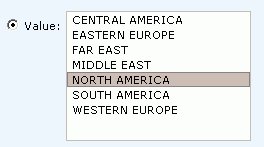
-
Select a Constant, Parameter, Field or Value selection
button.
-
Click OK to
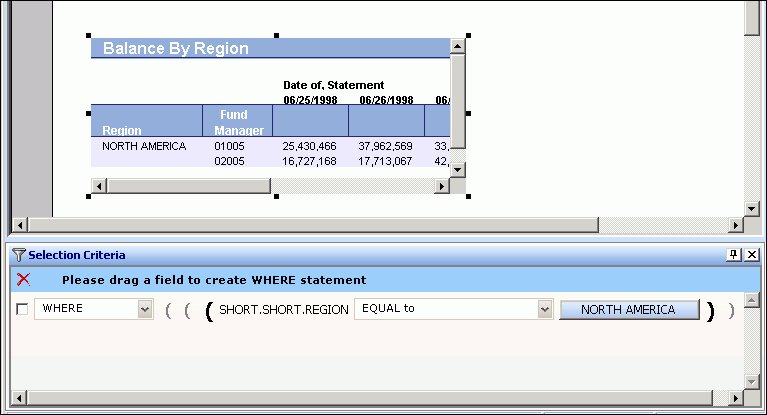
close the Select Value dialog box.
The value is added to the Selection Criteria palette and
the report or graph reflects the WHERE statement as soon as the
value is selected.
Note: To delete
the WHERE statement, select the WHERE statement check box and click
the red X on the blue highlighted line in the Selection Criteria palette.