-
Select the Graph button from the Toolbox
palette and drag it onto the canvas.
or
Select Graph from the Insert menu.
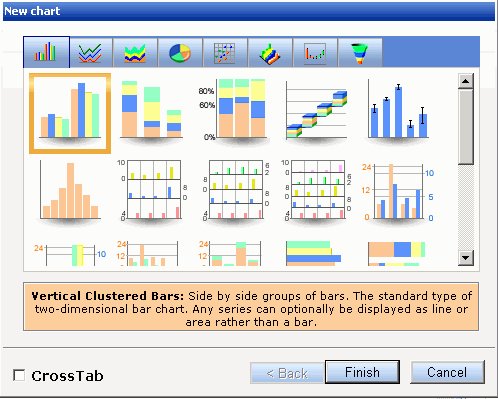
The New Chart dialog box appears.
-
Select a chart type and click Finish.
The graph appears on the canvas.
Tip: To view the New Chart dialog box after the graph has been added to the canvas, select Show Chart Types from the right-click context menu of the graph.
-
From the Data Sources palette, select a field and drag it to
the graph object.
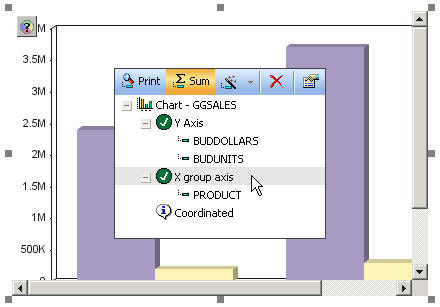
When you drag a field into the graph, drop the field on the Y axis, X group axis, Coordinated, or other specialized field container in the Query pop-up dialog box that appears, as shown in the following image.
You can also double-click a field to automatically add it to the graph. Numeric fields, such as decimal and floating point, are added to the Y axis (or other specialized) container. Non-numeric fields, such as alphanumeric and date fields, are added to the X group axis (or other specialized) container.
Note: The Coordinated field container contains a common sort field for creating multiple reports and graphs that are burst into separate page layouts. Each value for a coordinated sort field displays on a separate page.
-
To edit or delete fields in a graph,
select the desired graph object in the canvas, then open the Query
pop-up dialog box or Query palette.
- To open the Query pop-up dialog box, click the Query button above the selected report object (or right-click the report object and select Query from the context menu).
- To open the Query palette, from the View menu, select Palettes, then select Query from the Palettes submenu.
The Y axis, X group axis, and Coordinated field containers appear with the selected fields in the graph. Note that some specialized graphs have other field containers. You can drag and drop fields into different containers, delete fields, add and edit compute fields, and view properties for a selected field from this dialog box. You can also select Print to display all of the values found in the data source for a selected field, or select Sum to sum the values of a selected numeric field.
- To customize the properties of a field in the graph, right-click the desired field in the Query pop-up dialog box or Query palette, select Properties, then modify the properties in the Field properties palette. For details, see Field Properties.
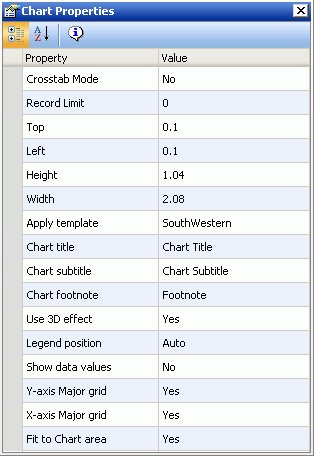
- To customize the properties of the entire graph, right-click the desired graph object, select Properties, and modify the properties in the Chart properties palette. For details, see Chart Properties.
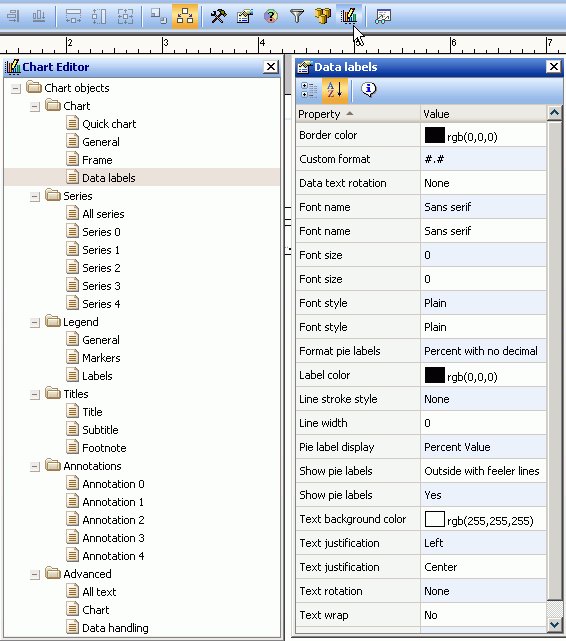
- To further customize the chart titles, legends, axes, and other properties, from the View menu, select Palettes, then select Chart Editor from the Palettes submenu.
- Select Save from the File menu to save the graph.


