Procedure: How to Insert an Image Object in Power Painter
-
Select the Image button from the Toolbox
palette and drag it onto the canvas.
or
Select Image from the Insert menu.
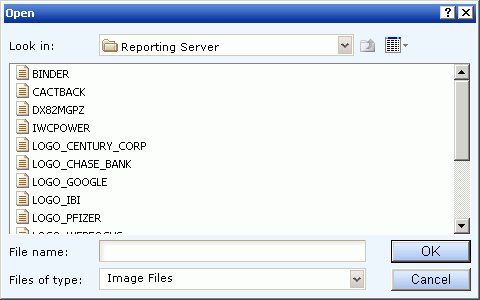
The Open dialog box appears on the canvas.
-
Select from the list of image files available.
Note: The Reporting Server is the default location for all stored images.
Images need to be copied to the appropriate directories by your administrator.
- Click OK to insert the image. The image is added to the canvas, and the size defaults to the size of the image.
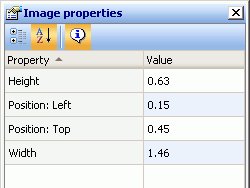
- You can select the image object to view or edit the properties for the image in the Image properties palette.
- Select Save from the File menu to save the image.